|
|
|
|
|
|
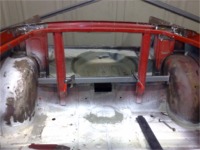
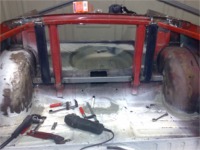
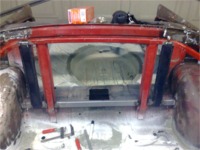
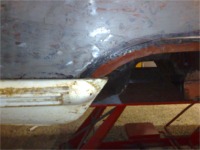
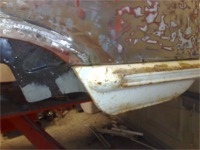
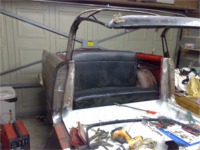
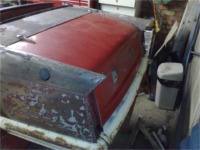
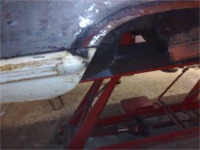
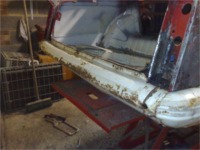
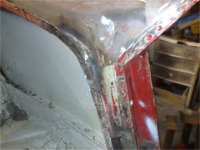
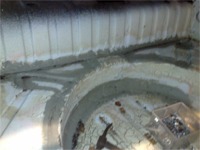
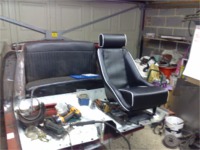
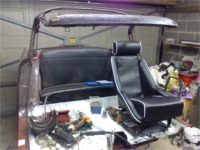
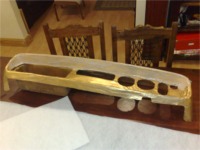
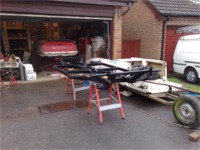
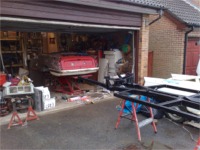
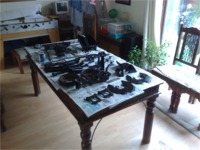
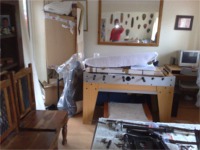
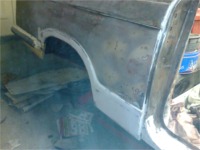
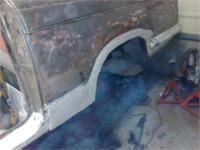
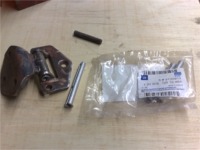
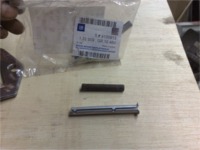
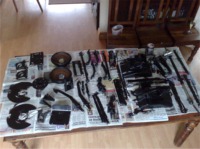
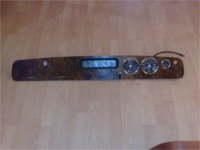
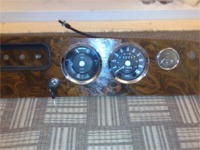
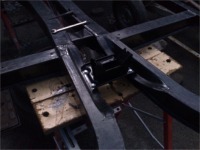
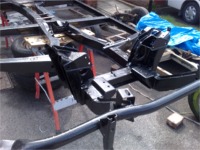
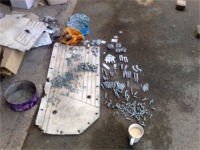
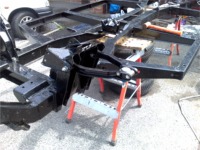
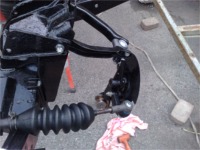
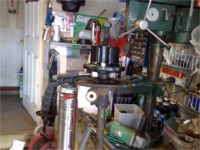
20 April 2008 - Building up Firstly let me apologise for the delay in this update - the reason - well actually because I have been busy with the car! This website seems to have gained a following of fans, and by the sounds of it, it is spurring you on to get your own project Heralds finished this year! Good on you! Anyway, as you can see, there are loads of pictures this time, with a variety of different parts being worked on at the same time. This is due to the fact that I get bored easily and have to do something that I feel is more exciting than welding or grinding! The first few pictures show teh rear tub, now completely welded up, and the new strengthening bar being welded in to mount the three point inertia reel type rear seatbelts. I got the idea from the Triumph Club forums, and since I had some parts from another convertible top section, I cannibalised the uprights to add in some extra support for the top of the seatbelts and also as I figured that the kids will no doubt sit on the top and we might have some wedding photos sat on the top of the deck. The next photos show the fitting of the rear bumper and valance, and the cock-up I made of the right hand rear wing. As you can see, the corner bumber sits forward of the wing, so I had to modify it to fit. My mistake entirely, and a tip for all you others: if you are fitting a new wing section like mine, make sure you fit up the corner bumber part as well so you can line it all up! I also fitted up the hood frame to see how it lined up with the top and it did highlight the fact that the hybrid tub is a little out and the hood frame catches on the left hand side. This should be easily packed out when I get it back from painting, so at least I know that I will need to do that. I don't want to scratch the new paint job! The bootlid was also trialled and I found out that the new boot hinges sent to be by Bill at Rarebits, were two right hand ones! Luckily I had some old ones that I could use for now, just to get it all aligned. Around the lip of the tub where the boot lid sits, I had to do some fiddly repairs, but they came out okay and with a bit of filler and a coat of paint, they should look pretty good I reckon. The whole of the boot area need tidying up inside, as I have done all the wedling from underneath. Teh advantage with that is that you can seal it better from the road water and salt, and it looks neat and tidy for the MOT inspector! Inside was a simple case of hammering the edges flat and then seam sealing the joins to make them water tight. I will turn the tub over this week and finish off the sealing and stonechipping underneath. You can see the new front seats from MWS that I bought to speed up the interior and also because the kits for repairing the original front seats would have been over £300. These were £75 each and just need a subframe making up. I think they look pretty smart and the white piping will go with the white exterior quite nicely. Yes, I know that the purists among you will scoff, but I am building this for my wife and I and we like them! And they will be a darn sight more comfortable! The chassis has at last made its first appearance into the sunshine since last year, and actually has some new bits on it now. I started to put the front suspension together and and realised that I had a lot of brackets and bits that needed painting, so Jayne very kindly offered to help with the painting. She did regret offering as there seemed to be an endless stream of bits! As you can see the dining room table got used and the rest of the house seems to be gaining Herald bits in various states of repair. She is being very tolerant at the moment, so I will keep her sweet for now! Another little tip is for the door hinges. Mine were pretty shot, and had a lot of play in them. When I did up VW Beetles I used to change the solid door pins for roll-pins and I thought that I could do the same with these. I have a friend who works for a Vauxhall dealership and so he got me some Vauxhall ones and I fitted them to the worn out hinges. They took up all the slack and are as good as new. The pins are not expensive and a lot cheaper that the £15 each for new hinges. The split pin type works well at taking up any play in the hinges. Lastly, the dashboard came out better than I thought, my father-in-law glued on the new Burr-walnut veneer that I got from eBay (just search on Burr-walnut veneer) and 6 coats of varnish later the dash looks great. I really like the dark burr walnut veneer, a lot more than the lighter standard dashboard which I always thought looked bit cheap. I know it is not original but as you have guessed by now, I am improving a classic, not just restoring it. The veneer cost me £26 and the varnish £6 so for under £40 I have a great looking dashboard. Oh, just wanted to let you know that the rear hubs caused me loads of grief. I even bought the special tool required, but they still took 3 days, copious amounts of WD40 and heat, and eventually a 4 foot long bar! Tip: Remove these whilst still attached to the car if you can! The big question is: Will I make the wedding? At this point I am still pretty confident, but I am going to be realistic and we have a friend with a white mercedes we can borrow if need be. I will endeavour to get the Herald done but having come this far, I am not going to rush it. On the other hand, there is still 5 weeks to go, so I am going to crack on and try my best!
|
|
||||||||||||||||||||||||||||||||||||||||
|