|
|
|
|
|
|
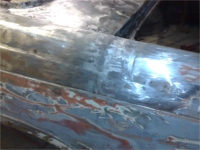
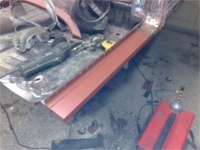
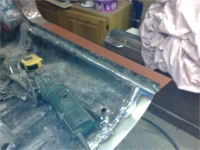
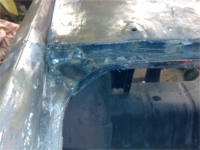
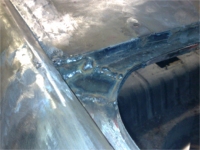
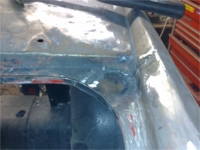
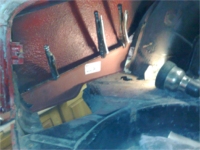
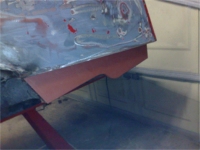
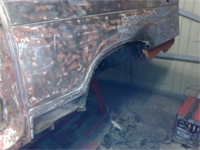
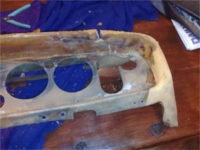
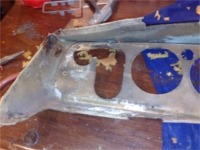
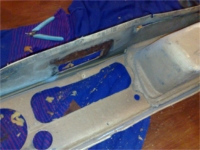
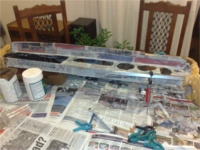
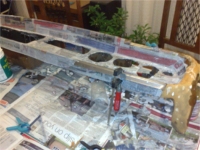
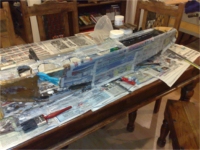
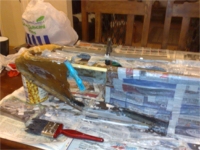
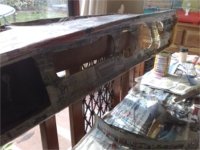
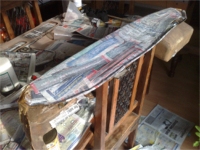
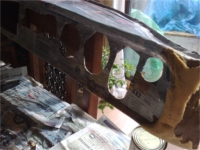
16 March 2008 - Welding & Dashboard Guess what? I've been doing some more welding! I know if may come as a surprise, but the tub is needing more welding! I have nearly done the top deck and now it is moving onto the back and underneath. I will finish up a little more around the Passenger rear wings and then turn the tub over so I can get to the underneath easily. That is the big advantage with taking the body off and stripping it right down, you can do a beeter job and get in everywhere. Another godsend is the ramp I have. it is really a motorbike ramp but is it serving the purpose of a lift so I do not have to bend down all the time. I would thoroughly recommend this way of working as a bad back can be a real pain! My lead filling attempt is going well, I am pleased with the results. I am hoping the painter likes it as much as I do! As you can see by the photo's, I got bored with all the welding and decided to do some other stuff. One thing I had been putting off was the dashboard, and I have been struggling with knowing how to approach this. The dashboard is a vinyl covering over a fibreboard core, and then a nice piece of veneered wood to hold the dials etc. The Wooden dashboard is relatively straightforward, as I will re-veneer this in a burr walnut veneer (I know not exactly original, but I think it will look nice with the white exterior), and the vinyl covering can be easily replaced. The real challenge is what to do with the fibreboard core. The years have really taken their toll on it and secondhand ones are hard to find in good condition as they just rot and are difficult to store. I was going to fibreglass it on the inside, but as the thing started to fall apart even more with every touch I was worried that I would never get the right shape with the fibreglass and if I got it wrong, it would be long winded and very messy to put right. So I opted for the easier route of paper-mache. I know this sounds wierd but PVA glue and paper pulp is probably all the fibreboard was in the 1960's pressed into shape and dried out. It is easy to work with, not too messy (that's what I told my fiancee!) and you can just cut out anything that goes too wrong and start again! I figured that if I could get the strength back into the dashboard and get the shape correct, then I can add some fibreglass to the inside, to make it rigid again and then paint the whole thing with a waterproof paint. You have to remember that actually none of the dashboard core is actually seen, as it is covered with vinyl and the wooden centre, so I was not too bothered about the core looking superb, as long as it was the right shape and would keep its strength. The end result is pretty good I reckon (thanks to my primary school art teacher who taught me the art of paper-mache around a balloon!) Anyway, I have started to sort out all the bits for the reassembly now (I know I still have a bit to go on the welding, but I need to make sure I can get all the bits in time!) so hopefully over the next few weeks I can get excited by all the new stuff that will be arriving!
|
|
||||||||||||||||||||||||||||
|